OPA 28 Concentration Indicator Test Strips 50 Per Bottle

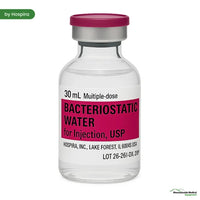
Bacteriostatic Water Injection by Hospira, Multiple Dose Vials 30 mL 25/Pack (Rx)
$ 539.00
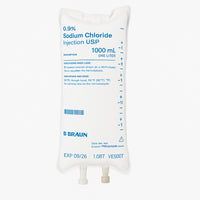
IV Bags, IV Fluid Solution for Intravenous & Infusion IV Therapy (Rx)
$ 10.95
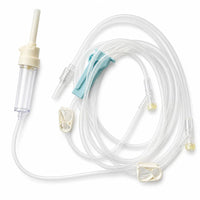
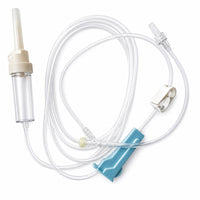
Exel IV Administration Set, Y-Injection Site, 78" Tube, Roller Clamp
$ 1.99
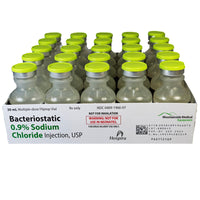
Bacteriostatic Sodium Chloride 0.9% Saline Injection Multiple Dose 30 ml x 25/Pack (Rx)
$ 125.00
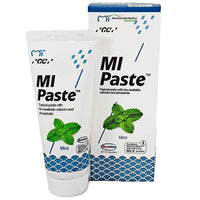
MI Paste with Mint Flavor Remineralizing Toothpaste by GC America
$ 23.00
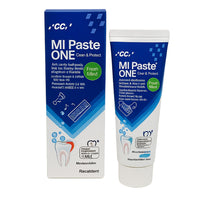
Mi Paste One Anti-Cavity Toothpaste, Fresh Mint by GC America
$ 24.00
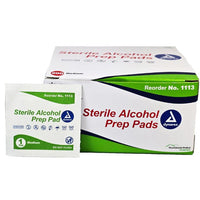
Alcohol Prep Pads Sterile by Dynarex 200/Box
$ 2.49
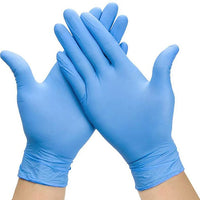
Nitrile Powder Free Examination Gloves Blue Color, 100/Box
$ 7.95
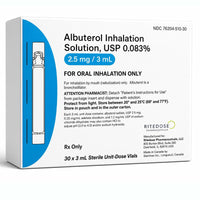
Albuterol Sulfate 0.083% Inhalation Nebulizer Solution 2.5 mg/3 ml 25/Box (Rx)
$ 19.50
IV Set 15 Drop Luer Lock with 78" Tubing, Roller Clamp, and Y-Injection Site Ports
$ 1.99

Sale 31%
Sale 32%
Sale 26%
Sale 30%
Sale 36%
Sale 30%
Sale 52%
🔒 Medical License Required
Sale 40%
Sale 25%
Sale 17%
Sale 54%
Sale 27%
Sale 36%
Sale 30%
Sale 36%
Sale 19%
Sale 37%
Sale 26%
Sale 32%
Sale 34%
Sale 29%
Sale 24%
Sale 20%
Sale 24%
OPA 28 Concentration Indicator Test Strips are used to measure the concentration of orthophthalaldehyde (OPA) in a solution. OPA is a disinfectant commonly used in the healthcare industry to sterilize medical instruments and equipment. The test strips help to ensure that the OPA solution is at the correct concentration for effective disinfection. They are often used in hospitals, clinics, and other healthcare settings to monitor the OPA levels and ensure proper sterilization procedures are being followed.
How to Use OPA 28 Concentration Indicator Test Strips:
1. Prepare the test strip: Open the bottle containing the test strips and remove one strip. Ensure that your hands are clean and dry before handling the strip.
2. Dipping the strip: Dip the test strip into the solution to be tested. Make sure that the entire strip is submerged in the solution.
3. Remove the strip: Remove the strip from the solution after 10 seconds of dipping. Do not shake off any excess solution from the strip.
4. Wait for color change: Place the strip on a flat surface and wait for the color to develop. The color will change from white to pink or purple depending on the concentration of OPA in the solution.
5. Compare the color: After 60 seconds, compare the color of the strip to the color chart on the packaging. The color chart has different shades of pink and purple, representing different levels of OPA concentration.
6. Record the results: Record the color change and corresponding concentration level as per the color chart. This will give you an accurate measurement of the OPA concentration in the solution.
7. Disposing the strip: After recording the results, dispose of the used strip in a biohazard container. Do not reuse the strip for any other tests.
8. Repeat the test: If you want to confirm the results, you can repeat the test using a new strip and a fresh solution sample.
9. Store the remaining strips: After use, seal the bottle tightly and store it in a cool, dry place. Keep away from direct sunlight and moisture.
10. Interpret the results: OPA test strips typically have a detection range of 0-300ppm. A concentration of 300ppm indicates a high concentration of OPA, while a concentration of 0ppm indicates no presence of OPA in the solution. Refer to the manufacturer's instructions for the correct interpretation of the results.
OPA 28 Concentration Indicator Test Strips are used to measure the concentration of orthophthalaldehyde (OPA) in a solution. OPA is a disinfectant commonly used in the healthcare industry to sterilize medical instruments and equipment. The test strips help to ensure that the OPA solution is at the correct concentration for effective disinfection. They are often used in hospitals, clinics, and other healthcare settings to monitor the OPA levels and ensure proper sterilization procedures are being followed.
How to Use OPA 28 Concentration Indicator Test Strips:
1. Prepare the test strip: Open the bottle containing the test strips and remove one strip. Ensure that your hands are clean and dry before handling the strip.
2. Dipping the strip: Dip the test strip into the solution to be tested. Make sure that the entire strip is submerged in the solution.
3. Remove the strip: Remove the strip from the solution after 10 seconds of dipping. Do not shake off any excess solution from the strip.
4. Wait for color change: Place the strip on a flat surface and wait for the color to develop. The color will change from white to pink or purple depending on the concentration of OPA in the solution.
5. Compare the color: After 60 seconds, compare the color of the strip to the color chart on the packaging. The color chart has different shades of pink and purple, representing different levels of OPA concentration.
6. Record the results: Record the color change and corresponding concentration level as per the color chart. This will give you an accurate measurement of the OPA concentration in the solution.
7. Disposing the strip: After recording the results, dispose of the used strip in a biohazard container. Do not reuse the strip for any other tests.
8. Repeat the test: If you want to confirm the results, you can repeat the test using a new strip and a fresh solution sample.
9. Store the remaining strips: After use, seal the bottle tightly and store it in a cool, dry place. Keep away from direct sunlight and moisture.
10. Interpret the results: OPA test strips typically have a detection range of 0-300ppm. A concentration of 300ppm indicates a high concentration of OPA, while a concentration of 0ppm indicates no presence of OPA in the solution. Refer to the manufacturer's instructions for the correct interpretation of the results.
Something went wrong. Please try again.
Check your email for exclusive offers and updates from Mountainside Medical.
Are you sure you want to cancel your payment? Your cart is still saved.
You need an account to add products to your wishlist. Log in or create an account to start saving your favorites.