Click or scroll to zoom
Tap or pinch to zoom


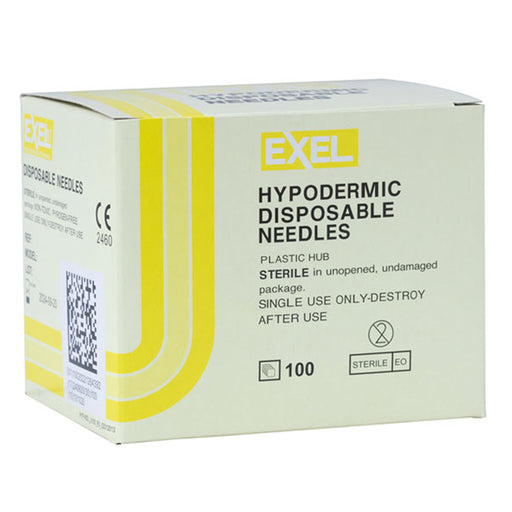
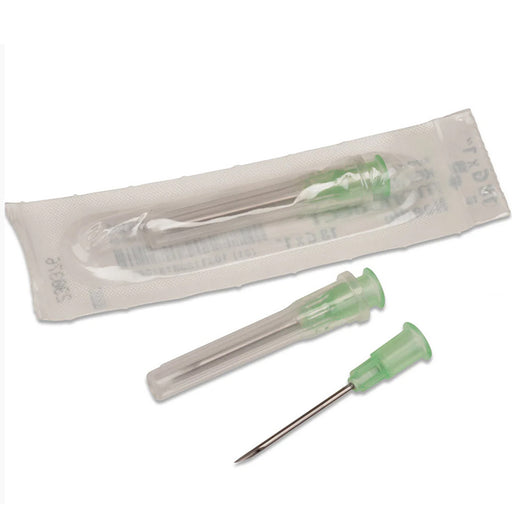
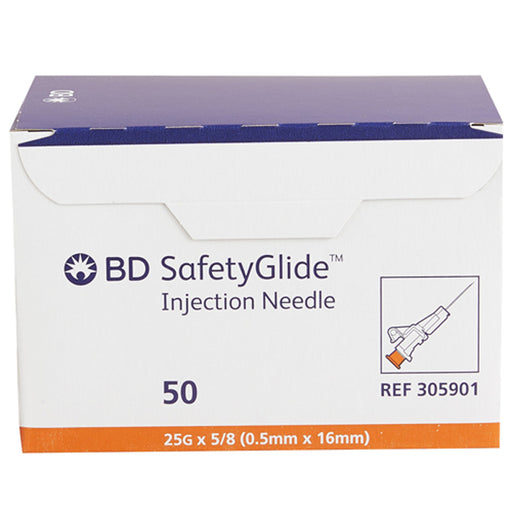
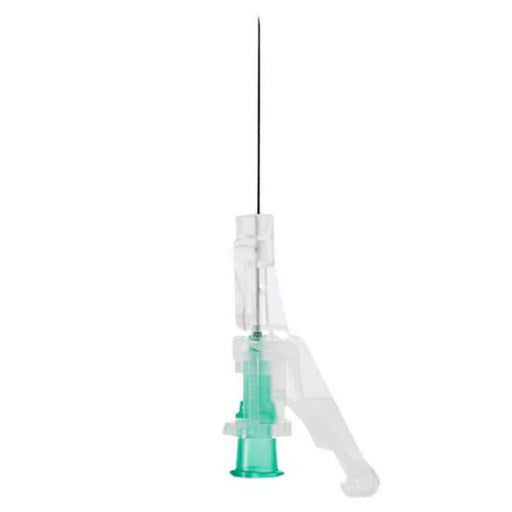
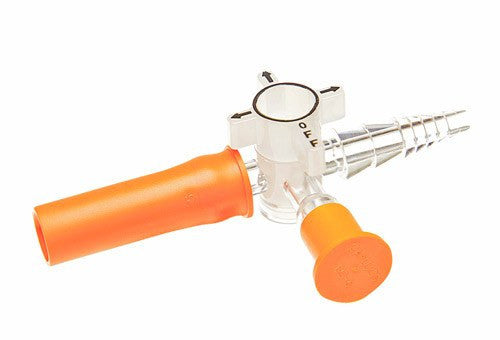
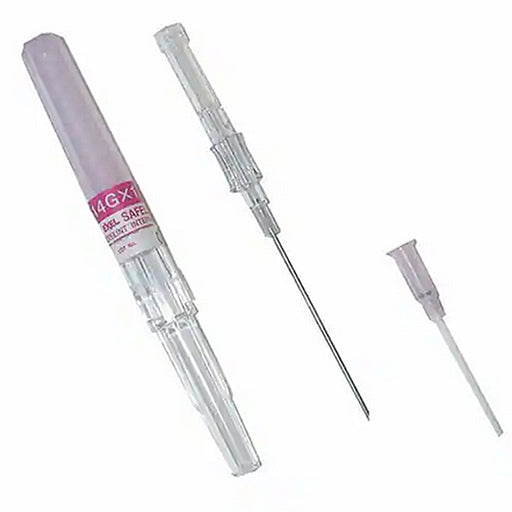
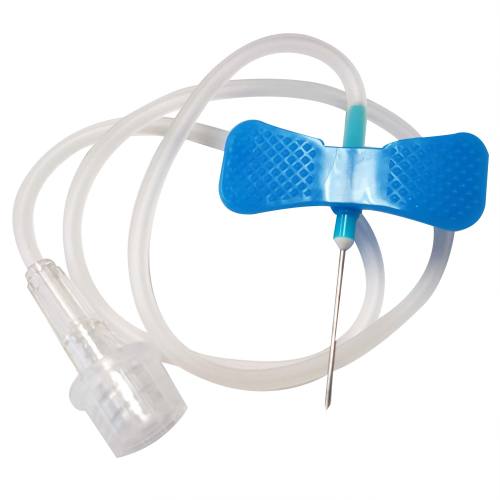
Protectiv Plus-W IV Catheter, Winged Hub, Radiopaque
by ICU Medical
SKU 308500
Sale 43%
Original price
$ 5.99
Current price
$ 3.39
In stock
*Mountainside Medical does not fill personal prescriptions
Medical Professional License Required to Unlock Account
How to Order:
You will receive instructions on how to create an account along with Rx Ordering Details.
(Note: Acceptable licenses must have Prescriptive Authority in the license issuing state.)
How to Order:
✔
Send an email request to: sales@mountainside-medical.com
You will receive instructions on how to create an account along with Rx Ordering Details.
(Note: Acceptable licenses must have Prescriptive Authority in the license issuing state.)


Free Shipping on orders above $100
Payment
Secure transaction
Packaging
Ships in product packaging