IV Start Kit with Transparent Dressing, Tourniquet, Tape & Prep Pads

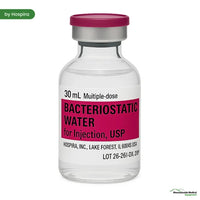
Bacteriostatic Water Injection by Hospira, Multiple Dose Vials 30 mL 25/Pack (Rx)
$ 539.00
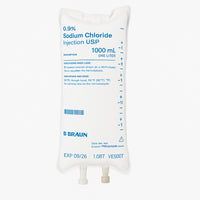
IV Bags, IV Fluid Solution for Intravenous & Infusion IV Therapy (Rx)
$ 10.95
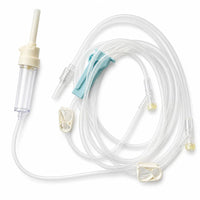
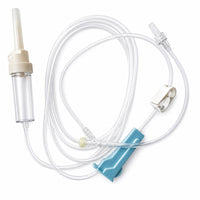
Exel IV Administration Set, Y-Injection Site, 78" Tube, Roller Clamp
$ 1.95
Bacteriostatic Sodium Chloride 0.9% Saline Injection Multiple Dose 30 ml x 25/Pack (Rx)
$ 122.00
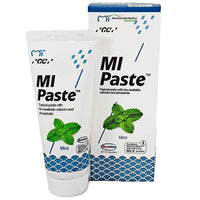
MI Paste with Mint Flavor Remineralizing Toothpaste by GC America
$ 24.00
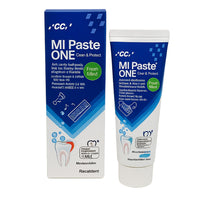
Mi Paste One Anti-Cavity Toothpaste, Fresh Mint by GC America
$ 24.00
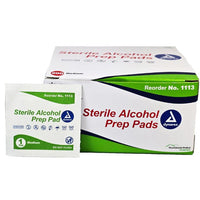
Alcohol Prep Pads Sterile by Dynarex 200/Box
$ 2.49
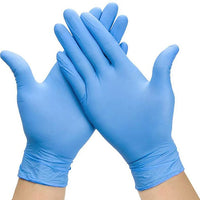
Nitrile Powder Free Examination Gloves Blue Color, 100/Box
$ 7.95
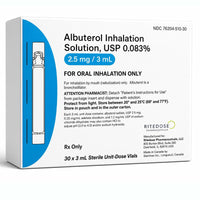
Albuterol Sulfate 0.083% Inhalation Nebulizer Solution 2.5 mg/3 ml 25/Box (Rx)
$ 18.50
IV Set 15 Drop Luer Lock with 78" Tubing, Roller Clamp, and Y-Injection Site Ports
$ 1.99
Sale 22%
Sale 36%
Sale 33%
Sale 37%
Sale 36%
Sale 31%
Sale 27%
Sale
Sale 29%
Sale 43%
Sale 38%
Sale 25%
Sale 16%
Sale 26%
Sale 23%
This item is sold out
Sale 47%
This item is sold out
Sale 37%
Sale 20%
Sale 50%
Sale 33%
Sale 38%
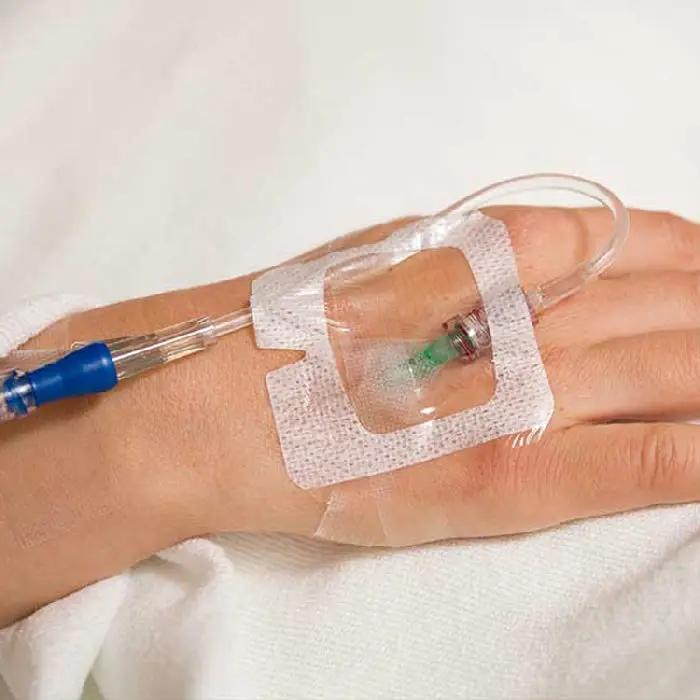
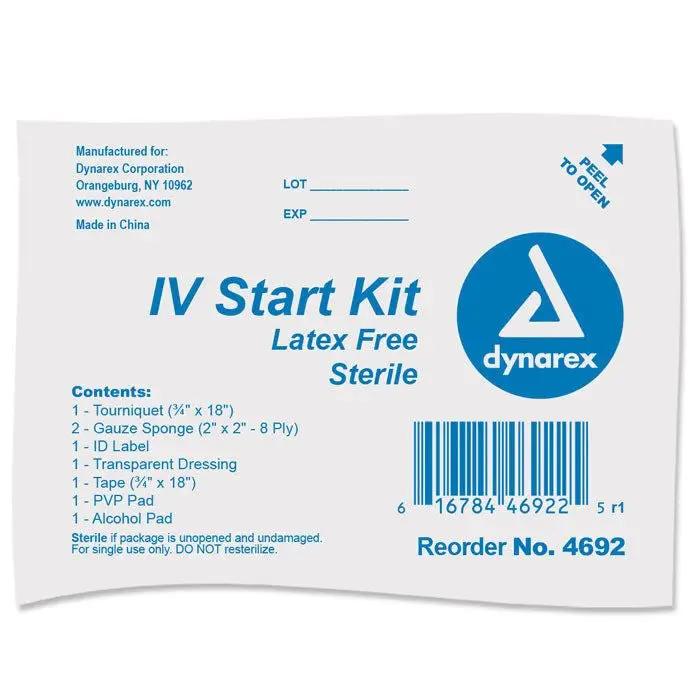
A IV Start Kit with Transparent Dressing, Tourniquet, Tape & Prep Pads is a package containing all the necessary items needed to start an intravenous (IV) line. These kits typically include a transparent adhesive dressing to secure the IV catheter in place, a tourniquet to help locate a vein, tape to secure the tourniquet and sometimes the IV catheter, and prep pads to clean the insertion site prior to starting the IV. The contents of an IV Start Kit may vary depending on the brand, but they are all designed to aid in the successful establishment and maintenance of an IV.
Features:
Includes:
How to use a IV Start Kit:
1. Wash your hands thoroughly with soap and warm water before handling the IV start kit. This will help prevent the spread of infection.
2. Gather all necessary supplies from the IV start kit including sterile gloves, sterile gauze pads, disinfectant, tape, and an IV catheter.
3. Select an appropriate vein for insertion of the IV. Common sites include the back of the hand, the wrist, and the inside of the elbow.
4. Have the patient lie down or sit in a comfortable position with their arm extended. This will help make the vein more visible and easier to access.
5. Wipe the site where the IV will be inserted with the disinfectant wipe. Use a circular motion and work from the center of the site outward. Allow the area to dry completely.
6. Put on the sterile gloves included in the IV start kit.
7. Open the sterile gauze pads and tape and place them within reach.
8. Hold the patient's arm in place with your non-dominant hand. Using your dominant hand, pick up the catheter and hold it between your thumb and forefinger like a pen.
9. Using a quick, smooth motion, insert the catheter at a 10-30 degree angle into the selected vein. The bevel of the catheter should be facing up.
10. Once the catheter is inserted into the vein, lower the angle to 5-10 degrees and advance the catheter further into the vein.
11. Continue to advance the catheter until you see a flash of blood in the flashback chamber. This confirms proper placement in the vein.
12. With the catheter still held in place, use your non-dominant hand to advance the clear plastic catheter hub over the catheter until it stops.
13. Use your non-dominant hand to gently pull back on the needle to expose the catheter. Once the catheter is exposed, push the needle down and off of the catheter to safely remove it from the patient.
14. Secure the catheter in place by applying the sterile gauze pad over the site and taping it down securely.
15. Flush the catheter with saline or medication as directed by your healthcare provider.
16. Label the catheter with the date and time it was inserted, as well as your initials.
17. Dispose of all used materials properly.
18. Monitor the patient for any signs of complications, such as bleeding or swelling at the site, during and after the procedure.
19. Document the procedure in the patient's medical record.
A IV Start Kit with Transparent Dressing, Tourniquet, Tape & Prep Pads is a package containing all the necessary items needed to start an intravenous (IV) line. These kits typically include a transparent adhesive dressing to secure the IV catheter in place, a tourniquet to help locate a vein, tape to secure the tourniquet and sometimes the IV catheter, and prep pads to clean the insertion site prior to starting the IV. The contents of an IV Start Kit may vary depending on the brand, but they are all designed to aid in the successful establishment and maintenance of an IV.
Features:
Includes:
How to use a IV Start Kit:
1. Wash your hands thoroughly with soap and warm water before handling the IV start kit. This will help prevent the spread of infection.
2. Gather all necessary supplies from the IV start kit including sterile gloves, sterile gauze pads, disinfectant, tape, and an IV catheter.
3. Select an appropriate vein for insertion of the IV. Common sites include the back of the hand, the wrist, and the inside of the elbow.
4. Have the patient lie down or sit in a comfortable position with their arm extended. This will help make the vein more visible and easier to access.
5. Wipe the site where the IV will be inserted with the disinfectant wipe. Use a circular motion and work from the center of the site outward. Allow the area to dry completely.
6. Put on the sterile gloves included in the IV start kit.
7. Open the sterile gauze pads and tape and place them within reach.
8. Hold the patient's arm in place with your non-dominant hand. Using your dominant hand, pick up the catheter and hold it between your thumb and forefinger like a pen.
9. Using a quick, smooth motion, insert the catheter at a 10-30 degree angle into the selected vein. The bevel of the catheter should be facing up.
10. Once the catheter is inserted into the vein, lower the angle to 5-10 degrees and advance the catheter further into the vein.
11. Continue to advance the catheter until you see a flash of blood in the flashback chamber. This confirms proper placement in the vein.
12. With the catheter still held in place, use your non-dominant hand to advance the clear plastic catheter hub over the catheter until it stops.
13. Use your non-dominant hand to gently pull back on the needle to expose the catheter. Once the catheter is exposed, push the needle down and off of the catheter to safely remove it from the patient.
14. Secure the catheter in place by applying the sterile gauze pad over the site and taping it down securely.
15. Flush the catheter with saline or medication as directed by your healthcare provider.
16. Label the catheter with the date and time it was inserted, as well as your initials.
17. Dispose of all used materials properly.
18. Monitor the patient for any signs of complications, such as bleeding or swelling at the site, during and after the procedure.
19. Document the procedure in the patient's medical record.
Mountainside responds quickly and professionally to all of my med equipment needs. They are my go too!!
IV Start Kit with Transparent Dressing, Tourniquet, Tape & Prep Pads
Efficiently ran business! They keep me up and running for sure! Highly recommend
Always prompt with order
Always fast & great service! Thanks!
Great product & fast shipping
Just what the doctor ordered I've never had any problems with any of your merchandise very happy
I’d normally reserve the fifth star for something special or unexpected, but now days if you get it on time or early that is enough.
Thank you, this is a great product. You helped me so much.
Great place to deal with on med supplies.
Something went wrong. Please try again.
Check your email for exclusive offers and updates from Mountainside Medical.
Are you sure you want to cancel your payment? Your cart is still saved.
You need an account to add products to your wishlist. Log in or create an account to start saving your favorites.