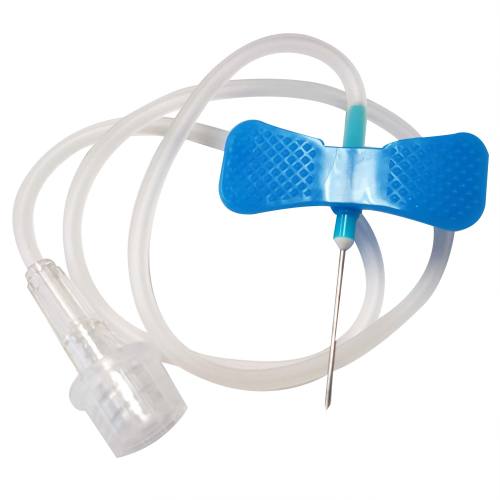
IV Set 60-Drop (Microdrip)
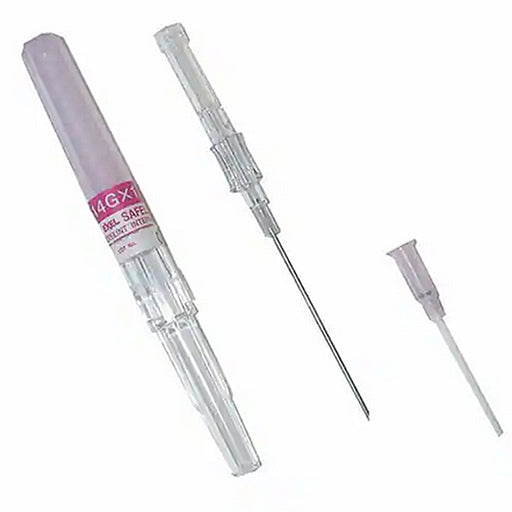
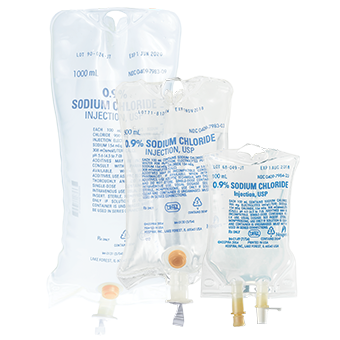
A 60-drop microdrip IV set is a sterile infusion tubing kit used to deliver fluids or medications intravenously with very fine control. It contains a spike, drip chamber, roller clamp, tubing, and connectors, and is hung from an IV fluid bag or bottle. The “60-drop” designation means the set’s drip chamber is calibrated so that 60 drops = 1 mL of fluid – i.e. each drop is ~0.017 mL. Because it produces very small drops, a microdrip set allows precise low-flow infusions, making it especially useful for infants, children, or critical-care patients where accurate small-volume delivery is needed. In practice, microdrip sets are used when a pump is unavailable or unnecessary, and when infusion rates are low (e.g. <100 mL/hr). (By contrast, a macrodrip set delivers 10–20 drops/mL for high-flow need.
Components and Setup
-
Inspect and prepare the IV set: Open the sterile IV set package without touching the spike or tubing. Verify the set is “60 drops/mL” (often printed on packaging). Common parts include the rigid spike (to puncture the bag port), drip chamber, roller clamp, tubing with injection ports (Y-site), and Luer connector. Some sets have an air-vented spike; others have a closed (non-vented) spike – use a vented spike if the fluid bag lacks a vent and the medication is air-sensitive.
-
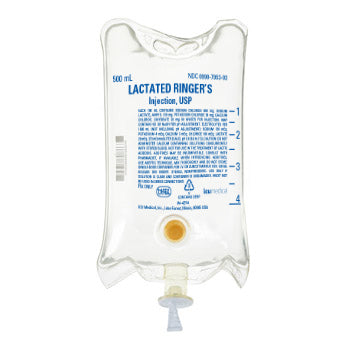
Hang the fluid bag: Place the IV fluid bag (e.g. saline, dextrose, medication) on an IV pole higher than the patient. Disinfect the bag’s injection port with an alcohol wipe.
-
Insert the spike: Remove the plastic cover from the IV set’s spike. Pierce the bag’s port firmly with the spike, keeping the set sterile. If the spike is vented, ensure the air filter/vent is correctly placed and not blocked.
-
Fill the drip chamber: Squeeze the drip chamber gently until it fills about 1/3 to 1/2 full of fluid. This reservoir lets you see drops form and prevents the chamber from emptying during use. Do not overfill, or drops will not form clearly.
-
Prime (fill) the tubing: Open the roller clamp fully (or squeeze the “side clamp” if present) to allow fluid to flow down the tubing. Let fluid flow until it exits the end of the tubing, flushing out all air. Watch the tubing closely to avoid air bubbles – if bubbles appear, close the clamp, tap them up to the chamber, reopen and flush again. Once the line is fully primed (no airleft, fluid at the end), re-close the roller clamp. Priming is critical: it prevents air emboli and ensures accurate flow control.
-
Attach to patient: Clean the patient’s IV cannula hub with antiseptic. Remove the protective cap from the IV set’s distal connector and attach it to the cannula (Luer slip or lock). Secure the connection (twisting a Luer lock) and tape the catheter as needed. Keep the infusion line clamped (closed) until you are ready to start the infusion.
Starting and Adjusting the Infusion
-
Open the line: When ready, open the roller clamp slowly. You should see drops forming and falling in the drip chamber. The microdrip chamber will produce small, rapid drops.
-
Set the flow rate: Adjust the roller clamp to achieve the prescribed rate. Because the drop factor is 60 gtt/mL, the math for drip rate is straightforward.
Use the formula:
[ \text{Drops per minute} = \frac{\text{Volume (mL/hr)} \times \text{Drop factor (60)}}{60}. ]
But since the drop factor is 60, this simplifies to Drops/min = mL per hour. For example, to infuse 60 mL in one hour, set the clamp so you count about 60 drops per minute (one drop per second). For 120 mL/hr, set ~120 drops/min, and so on. A quick check is to count drops in 10 seconds and multiply by 6. Adjust the clamp until the correct drip rate is achieved.
Verify with volume labels: Many IV bags have graduated markings. You can also time how long it takes to drop from one mark to another as a double-check.
Use of Y-sites: Some microdrip sets include a Y- or injection port. To administer a bolus or smart infusion: clamp the main line, inject medication via syringe into the port, then unclamp and continue the microdrip infusion.
Calculating Flow (Example)
For a concrete example: if the order is to give 90 mL in 1 hour (90 mL/hr) using a 60 gtt/mL set, the drop rate is simply 90 drops per minute. (Calculation: (90 × 60)/60 = 90.) If the order is 30 mL over 30 minutes (which is 60 mL/hr), set ~60 drops/min. This direct relationship (1 drop = 1 mL/hr) only holds for 60 gtt/mL sets.
Monitoring and Safety
-
Check flow frequently: Especially when using manual microdrip, a nurse should count drops and verify the infusion rate often (e.g., each time they assess the patient). Since microdrip delivers very small drops, slight clamp adjustments have immediate effect. Watch the drip chamber to ensure drops are forming consistently.
-
Prevent air embolism: Ensure no air bubbles remain in the line. If the IV runs dry (bag empties) with air in tubing, immediately clamp the line and replace the bag.
-
Secure all connections: Lock any Luer connectors and tape the catheter site to avoid accidental disconnection.
-
Observe the IV site: Watch for swelling, redness or leaking (signs of infiltration or extravasation). Because microdrip tubing often has a smaller internal diameter, infiltration pressure may feel higher, so monitor the limb carefully.
-
Limit frequency of injections: The tubing and small size make microdrips ideal for slow infusions, but not for rapid infusions of large volumes. If a rapid volume is needed, a macrodrip set or infusion pump is preferable.
-
Compatibility: Use only sterile, IV-labeled fluids. If medication is to be added, ensure it is compatible and fully dissolved (microdrip tubing typically has an inline filter to catch particulates).
-
Maintenance: Replace the IV bag and tubing as per your facility’s protocol (usually every 24–72 hours, or when the bag is empty) to prevent infection.
Summary
In summary, using a 60-drop microdrip set involves hanging the IV bag, spiking and priming the tubing, connecting to the patient’s IV access, and adjusting the roller clamp to achieve the prescribed drip rate. The key advantage of microdrip (60 gtt/mL) is its precision at low flows: 1 drop of fluid per second equals 1 mL/hour. This makes minute adjustments easy (for example, adding or removing a few drops per minute fine-tunes the rate by ~1–2 mL/hr). Microdrips are commonly used for infants, children, and patients needing very controlled infusion rates. Always follow sterile technique, calculate rates carefully, and monitor the infusion continuously.